Showing posts with label resist. Show all posts

Wednesday, March 7, 2012

Endangered Species

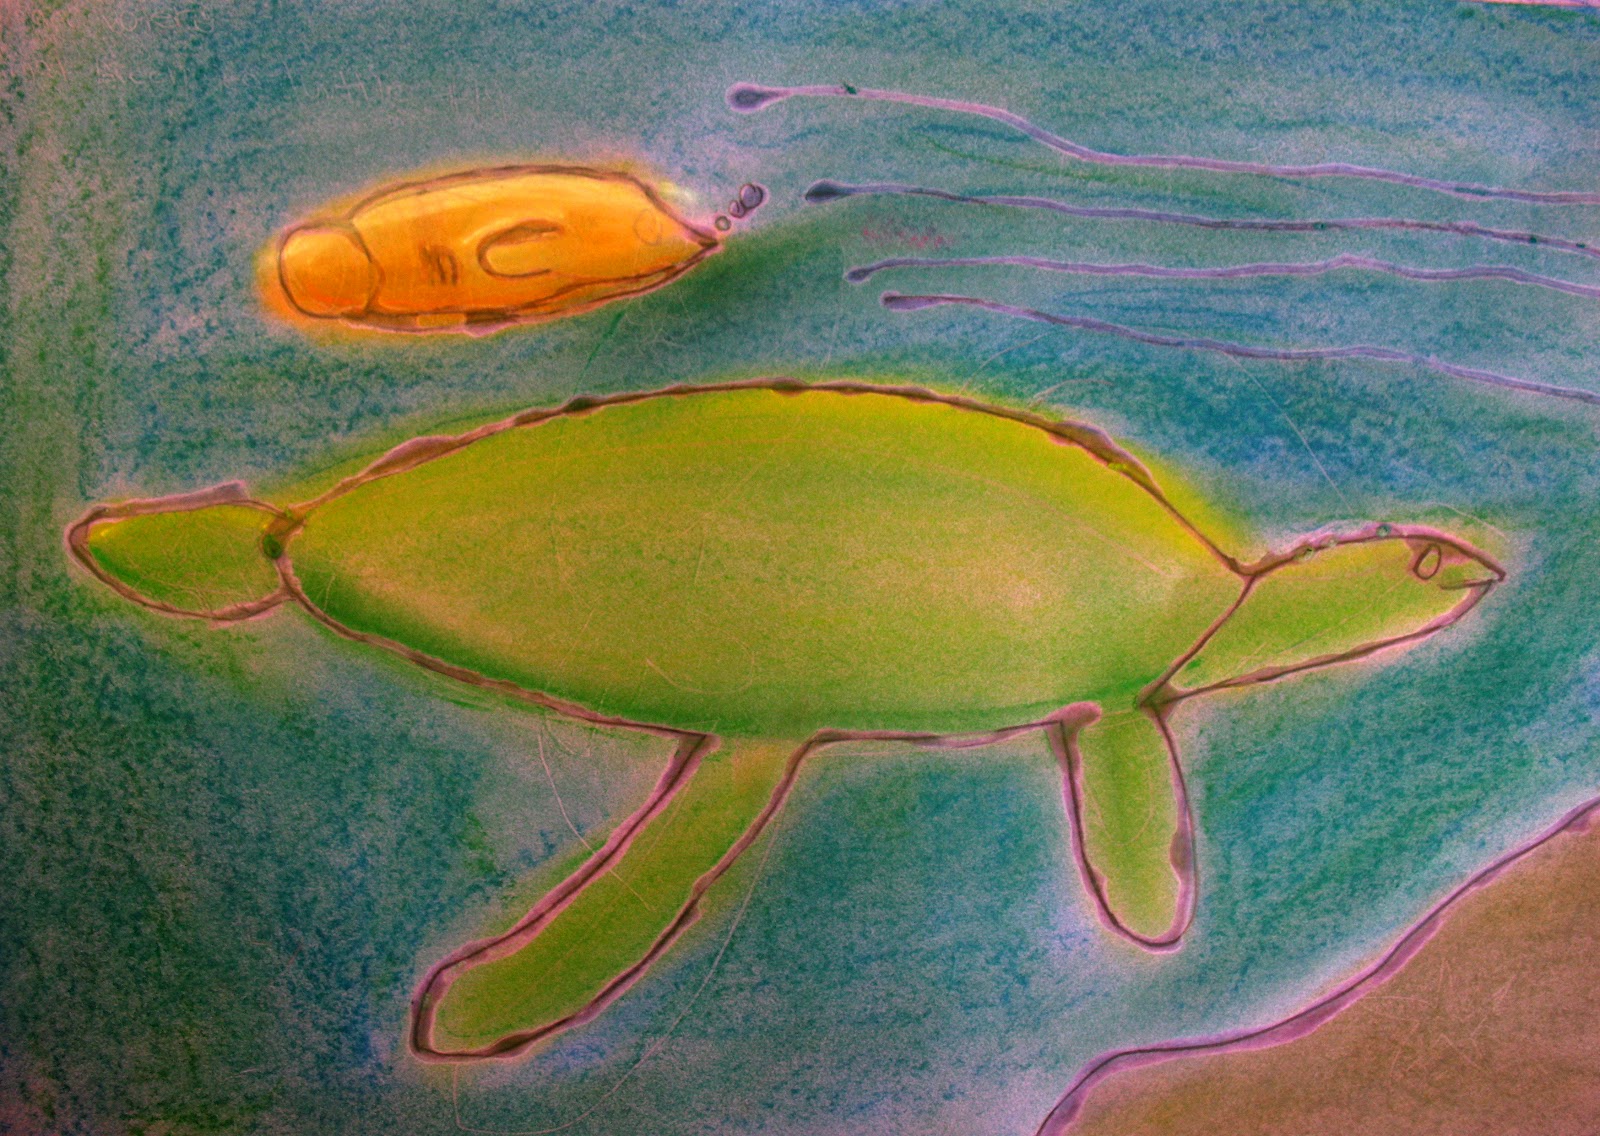
This lesson was inspired by my fellow art teacher last year. I can't remember the web site from which he printed the animal photos (if I find it I'll post the link), but students chose an endangered animal to draw, working from the photos (simple lines, not a lot of detail...we talked a lot about simplifying).

After working out composition, students drew their chosen animal on a sheet of 12x18 colored construction paper. They then traced their lines in glue. The clear, dry glue allowed the construction paper color to show through as the line color. Students then used chalk pastels to add color to their drawing.

Love messy hands!
The big ideas of this project were color and composition. Simplifying the lines of the drawings was an excellent exercise for students, as well, since young artists often get "blocked" when faced with too much detail (where to begin??). So we broke the background information down into basic shapes and spaces. Also, too much detail and the glue lines run together creating puddles, so simplifying was of practical importance, as well. Another benefit was that simplification often led to abstraction, which brought the animal into greater focus.

Here are a few of the finished drawings:


Saturday, February 26, 2011

Even MORE Underwater Watercolors!

Kindergarten drew warm-colored fish (at least that was the plan) in crayon and then painted a cool-colored watercolor wash over their entire paper. Paper size is 6"x9". Great experience in watercolor techniques for these young artists!

Alex - Kindergarten

Samantha - Kindergarten

Tylah - Kindergarten

Yoandri - Kindergarten

Monday, January 17, 2011

Watercolor Resist: Warm and Cool Colors (K-2)

I love exploring watercolor with my lower primary students! This simple watercolor resist project is always a favorite of young artists, and it's a wonderful way to let them experiment with the medium while discovering color. Warm sea life against cool water and seaweed provides brilliant contrast and results in a simply beautiful underwater landscape!

This lesson is written for K-2 students; however, I've done it with older students, and it can easily be adapted for 3rd-5th grade, as well.

Here are a few samples from K-3 students:

Ashley - 2nd grade
Ben - 2nd grade
Ramsey - 3rd
Rhenay - Kindergarten

Materials (for each student):
  • Student-grade watercolors (the examples above utilized Prang 16 color watercolor palette)
  • Two watercolor brushes (one medium/large and one smaller - #9 or so)
  • 9"x12" watercolor paper 
  • Crayons (with high wax content, Crayola works well) or oil pastels
  • 2B or 3B pencil
  • Salt (pinch or two)
  • Watercolor/low-tack tape
  • Tissue/small paper towel
  • Water cup and water
  • Optional:
    • 9"x12" newsprint (for 2nd grade and older) for preliminary drawings
    • Kneaded erasers
Vocabulary:
  • watercolor techniques:
    • wet-on-wet
    • wet-on-dry
    • dry-on-wet
    • dry-on-dry
  • transparent/translucent
  • line
  • warm colors
  • cool colors
  • resist
  • blot
  • absorb
  • bleed
Art Elements Addressed:
  • Line
  • Shape
  • Space
  • Color
  • Texture
  • Value
Prior to Lesson:
  • Art Elements: Prior to this lesson I cover Line, Space, Shape and an Introduction to Color
  • Using watercolor or low-tack masking tape, tape off edges of watercolor paper so that finished painting will have a crisp edge (1/2-3/4"). (This step can easily be skipped, but I like the crisp clean edge that masking provides. Plus, the kids love the "magic" of seeing the crisp border appear when the tape is removed, and it makes them feel like their painting is more professional.)
Lesson Organization and Procedure:

My classes are 45 minutes each, which ends up being about 30 by the time we get started and have to stop for clean-up, so I divide this lesson into four classes:
  • Day 1 - Intro discussion and drawing the scene on watercolor paper
    • Discussion: warm/cool colors; resist; ocean life (draw examples on the white board/Promethean board, or have copies to hand out to students)
    • Project: Draw an underwater scene on watercolor paper.
      • Young students: Draw three of the same animals (fish, jellyfish, etc.).
      • Older students: Draw three animals of choice.
      • Encourage students to vary the size of the animals to create contrast.
      • Encourage students to draw VERY lightly so that mistakes can be easily erased without scarring the surface of the paper. I tell students to draw as lightly as they would pet a delicate butterfly...if you draw/pet too firmly you'll squish your butterfly. We want our butterflies to live long, happy lives! 
      • Emphasize LINES...drawings should look like a coloring book page. Nothing should be filled in with pencil. I do encourage students to create designs and patterns on their sea animals, but the finished drawing must be constructed only of LINES.
  • Day 2 - Trace the drawing in crayon/oil pastel
    • I've had students use warm colors only on fish/sea life, and I've let them mix warm and cool colors. I haven't found there to be much difference. Usually the kids intuitively choose colors that are intense and beautiful anyway.
    • COOL TIP: White creates awesome bubbles that POP into existence when the ocean is painted.
    • Again, emphasize that this is a LINE drawing at this point. Color will be added with watercolor paints. (I have to say this several times, especially to younger students who want to color their drawing.)
  • Day 3 - Paint the background using cool colors (ocean - and seaweed if time)
    • Demonstrate wet-on-wet, wet-on-dry, dry-on-wet, and dry-on-dry techniques. If time and materials allow, give students a small scrap of watercolor paper and let them experiment with each technique as you demonstrate.
    • Prepare paints by dropping a couple of large drops of water on the colors that will be used. This will soften the paint and make it easier to pick up with the brush.
    • Painting the background using wet-on-wet technique: 
      • Using the medium/large brush, tell students to use WATER ONLY to wet their paper where the ocean will be. (They'll paint around fish, seaweed, and other sea life.) Paper should be obviously wet, but water shouldn't puddle. Use a tissue to blot puddles if necessary.
      • While the paper is still wet, load brush with water and desired COOL paint color and touch to wet paper. Slowly distribute ocean color until all "water" areas are painted.
      • Note that the paint will not spread to the dry paper by itself, but it bleeds freely where the paper is wet. 
      • Also note that the wax in the crayons/oil pastels resists the water in the paint and the lines magically appear through the watercolor paint! (This gets much cooler on Day 4 when painting the sea life!)
      • Sprinkle a pinch or two of salt on WET paint, distributing all over the water, and allow to dry without touching or blending.
      • Paint seaweed if time allows. DO NOT wet paper before painting or seaweed will bleed into the ocean (though this can be pretty, too...it will happen inevitably anyway. :)
  • Day 4 - Paint animal life using warm colors
    • Prepare paint by applying a couple of drops of water to colors as on Day 3.
    • Paint animals using WARM colors. Apply using wet-on-dry and dry-on-dry techniques. Students should observe the varying behavior of the paint depending on the technique used.
  • When paintings are dry: 
    • Brush away salt to reveal beautiful crystallized texture in the water!
    • Carefully remove masking tape trim.